
How it works
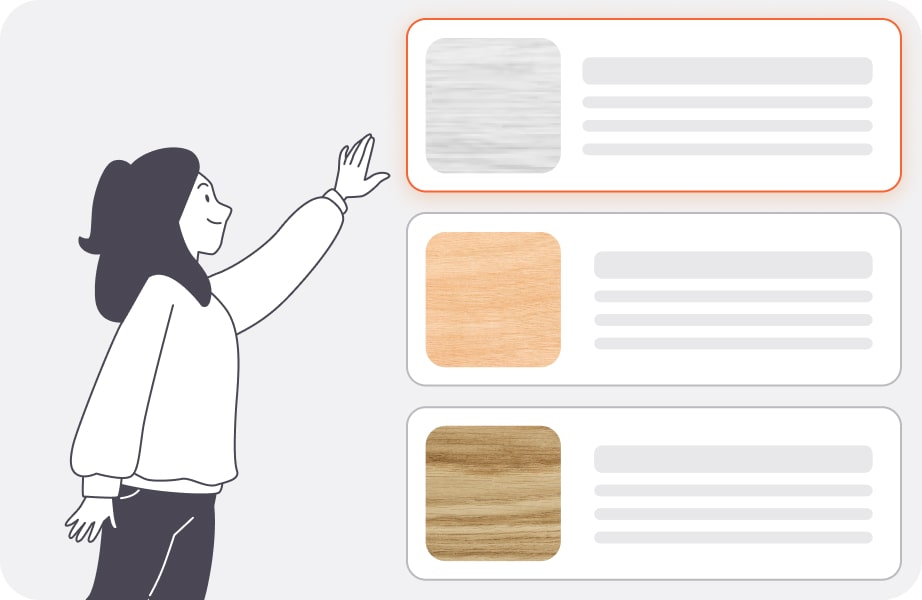
1. Pick engraving object, template and material
Firstly, you have to choose the object and it’s material, if such option is available, as well as our prepared or your own saved template. Template can be saved only upon log in, however you can make your order without logging in as all the other constructor’s options are available.
2. Insert picture and text
Secondly, the picture and/or text are added to the engraving zone, where a close to reality preview is displayed. Both the picture and text can be resized or moved within the boundaries of engraving object. Pictures with jpg, png, bmp, (svg?) file formats can be used. Picture min size is .. and max size is..
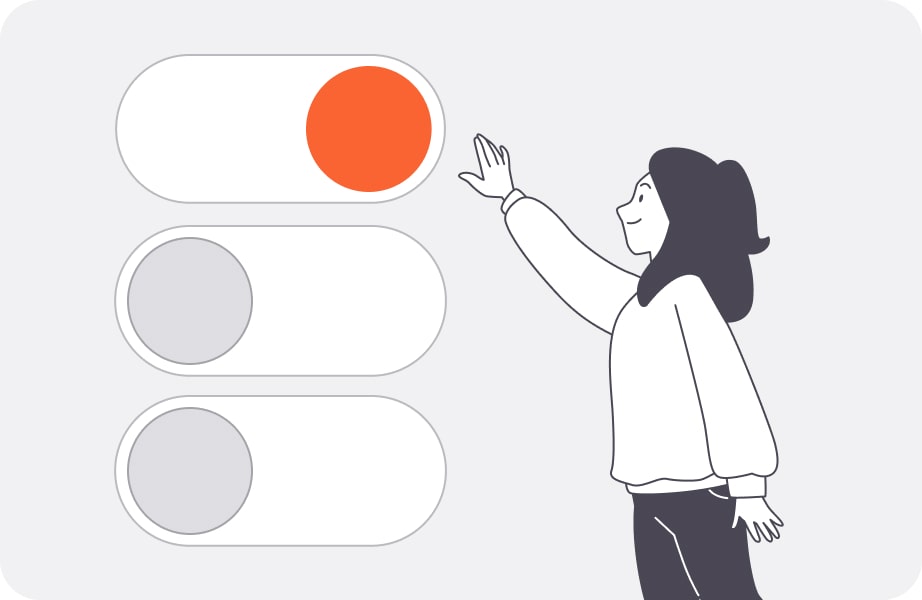
3. Shape options
For some objects user defined engraving options are available under “Choose shape”, e.g. Shape geometry, Size and engraving Mode. Laser engraving in Gradient mode will lead to halftones represented with deeper or shallower hollow, but Mono mode with treshold works as engrawing with constant depth. These options may not be available for all objects.
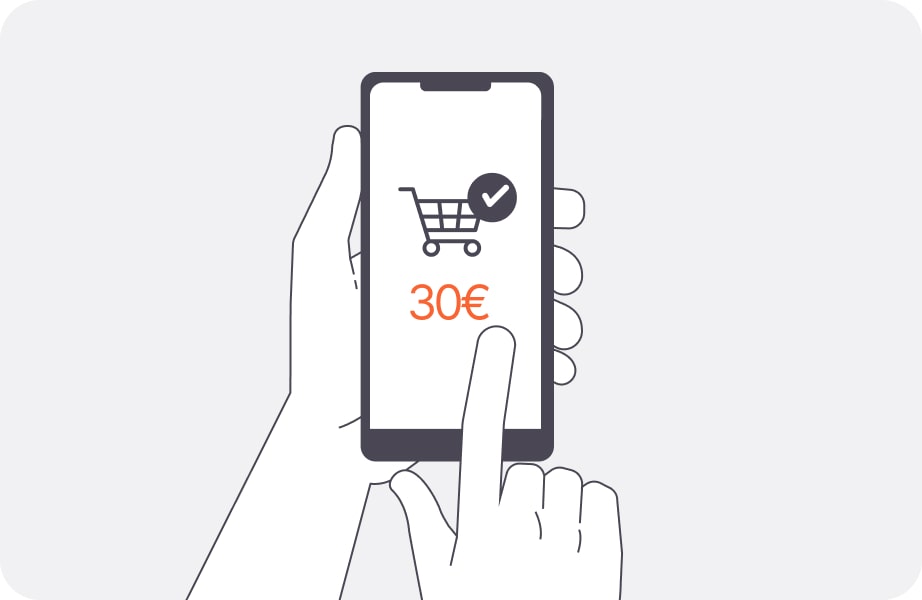
4. Overview of final price with shipping
Multiple engravings can be added to the Cart and the final price with shipping is calculated at the same time. No hidden fees, just pay for what you see.
5. Submit order and pay
When all engravings are added to the Cart, then “Submit order” button takes you to the final Cart overview and payment with chosen method can be proceeded. Receipt is send by email, but order is being processed and shipped in a short time.